This section explains how to automate VPAX file analysis using command-line tools (CLI) and integrate the analysis into a DevOps YAML pipeline.
WARNING: Before proceeding, ensure that you have a group account and an active license that supports automation.
Here are the steps to automate an analysis:
- Install the VPAX CLI tool
- Extract the VPAX file
- Create a Personal Access Token
- Install the DAX Optimizer CLI tool
- Analyze the VPAX file
Samples:
Videos:
Step1: Install the VPAX CLI tool
Install the Dax.Vpax.CLI tool by running the following command in your terminal:
dotnet tool install Dax.Vpax.CLI --global
After installation, you can invoke the tool with vpax --help
Step2: Extract the VPAX file
Execute the following command in your terminal to extract the VPAX file from the semantic model:
vpax export "C:\path\to\file.vpax" "Provider=MSOLAP;Data Source=<SERVER>;Initial Catalog=<DATABASE>;"
NOTE: Configure the file path and the connection string arguments based on your environment. Use
vpax export --helpand read the VPAX command line documentation to learn more.
If you use a Power BI workspace, you should enable and use the Service Principal to access the XMLA endpoint. Read more about this in the following articles:
- Service Principal access to dedicated capacity XMLA endpoint
- Automate Premium workspace and semantic model tasks with service principals
Step3: Create a Personal Access Token
- Go to app.daxoptimizer.com.
- Switch to the group account that owns the target model you wish to automate the analysis for.
-
Select
Access Tokensfrom the account’s settings panel.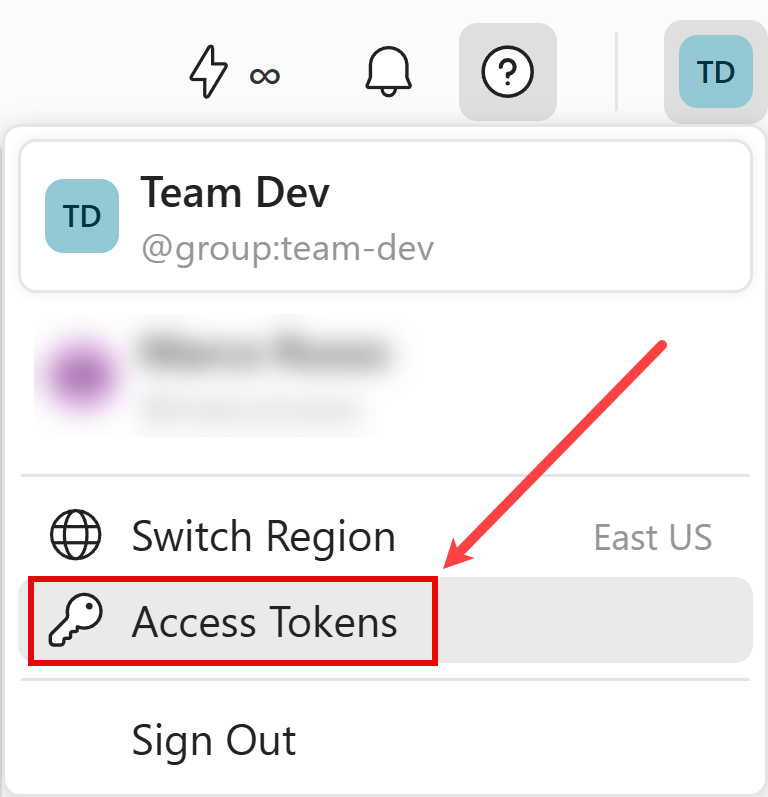
-
Click on the
+ Tokenbutton.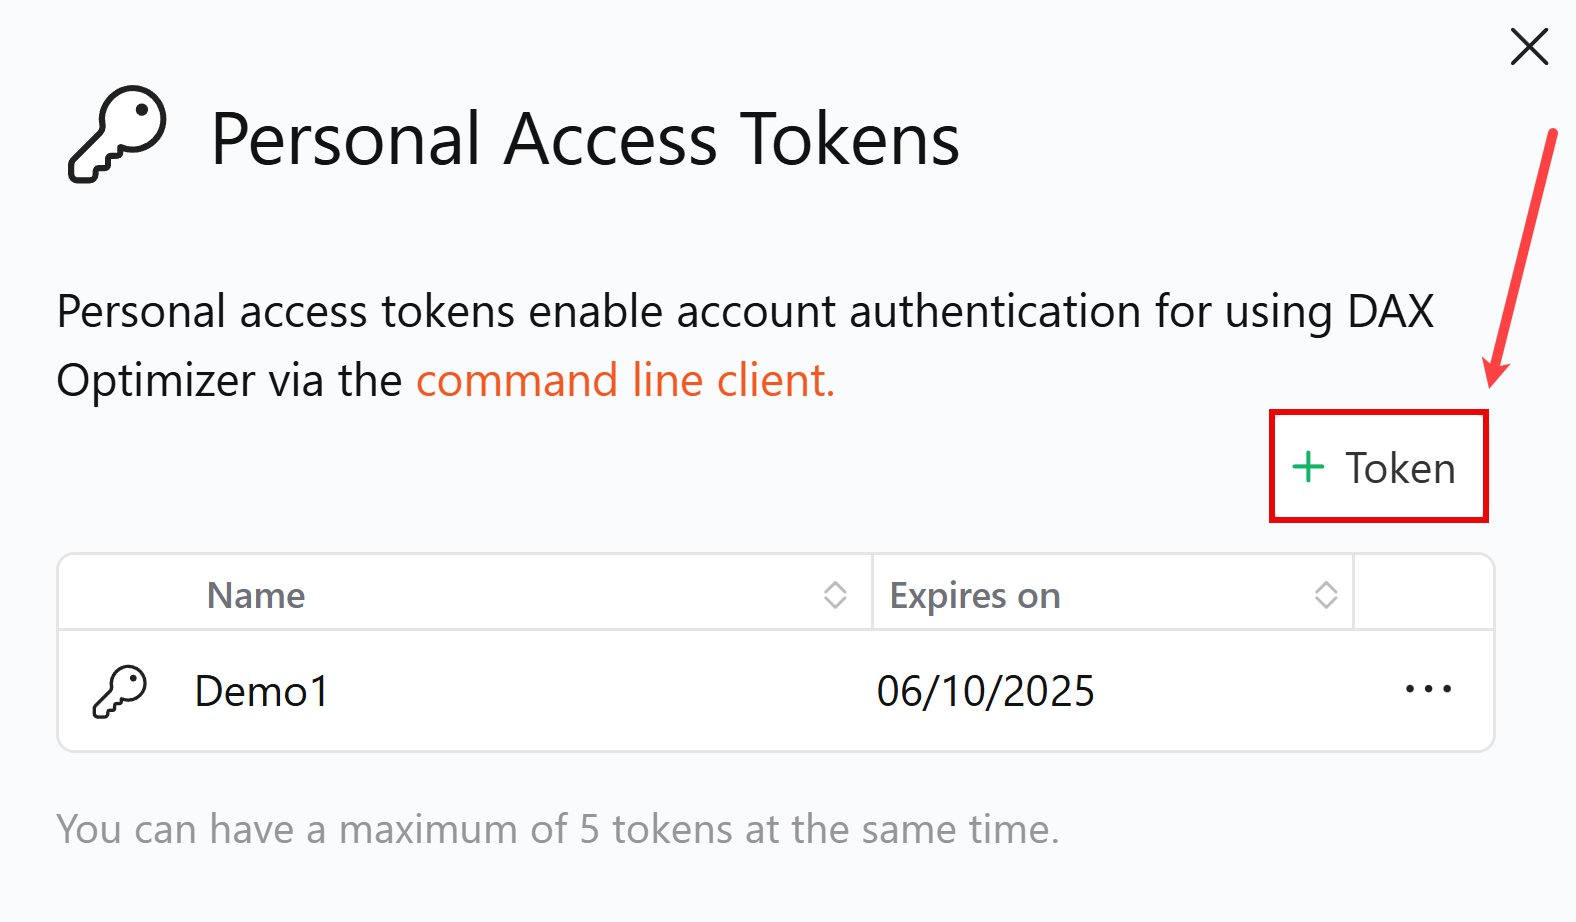
-
Specify a name and expiration date, then click
Create.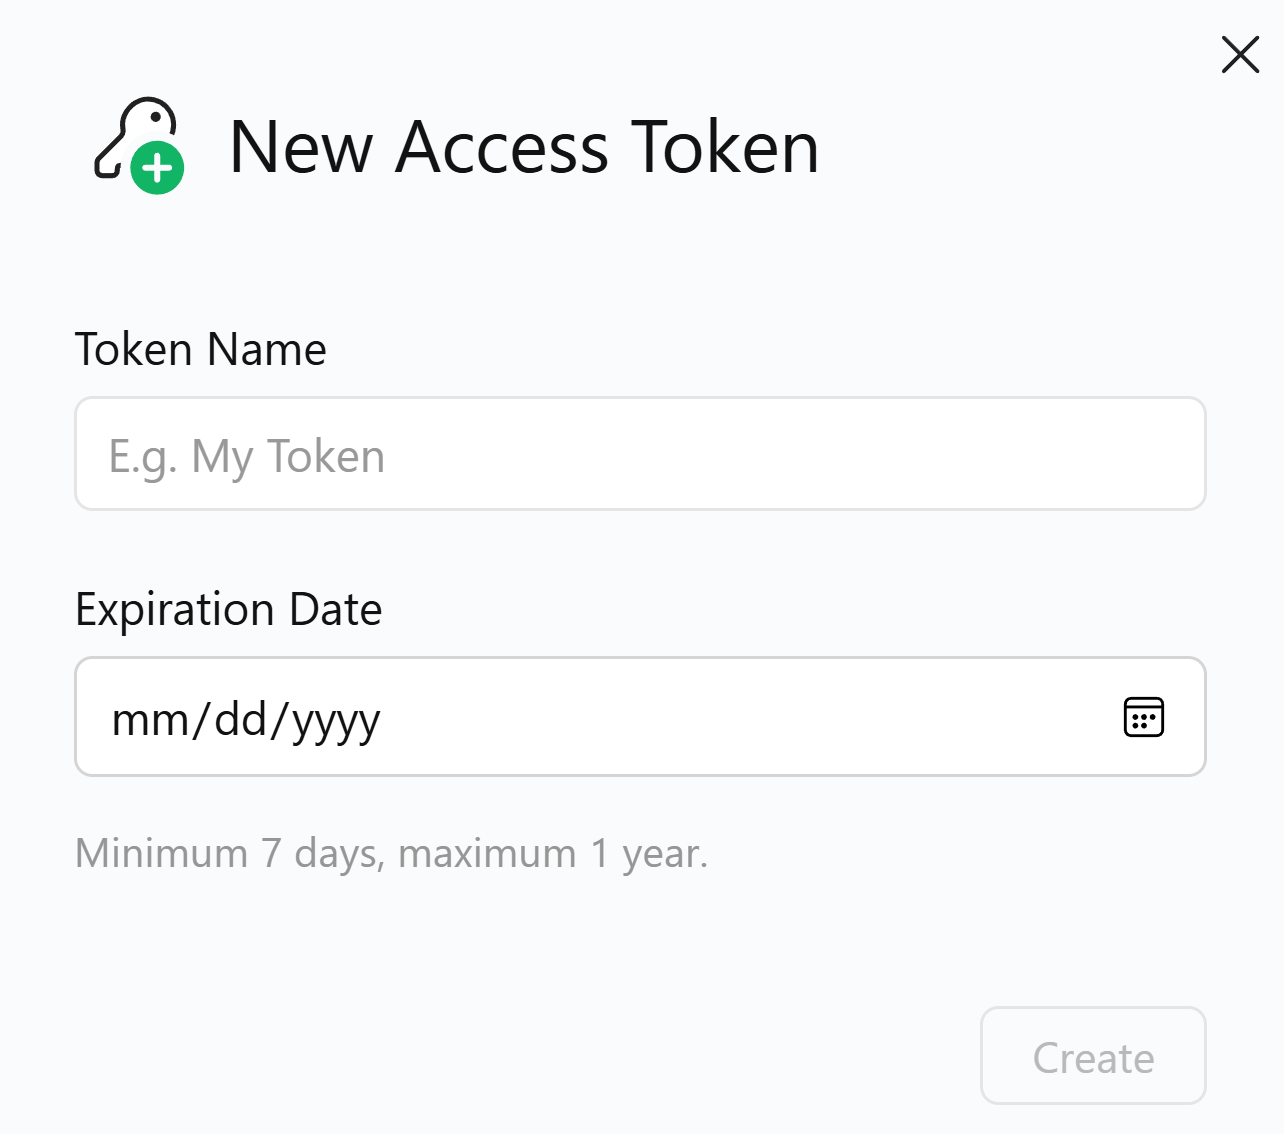
-
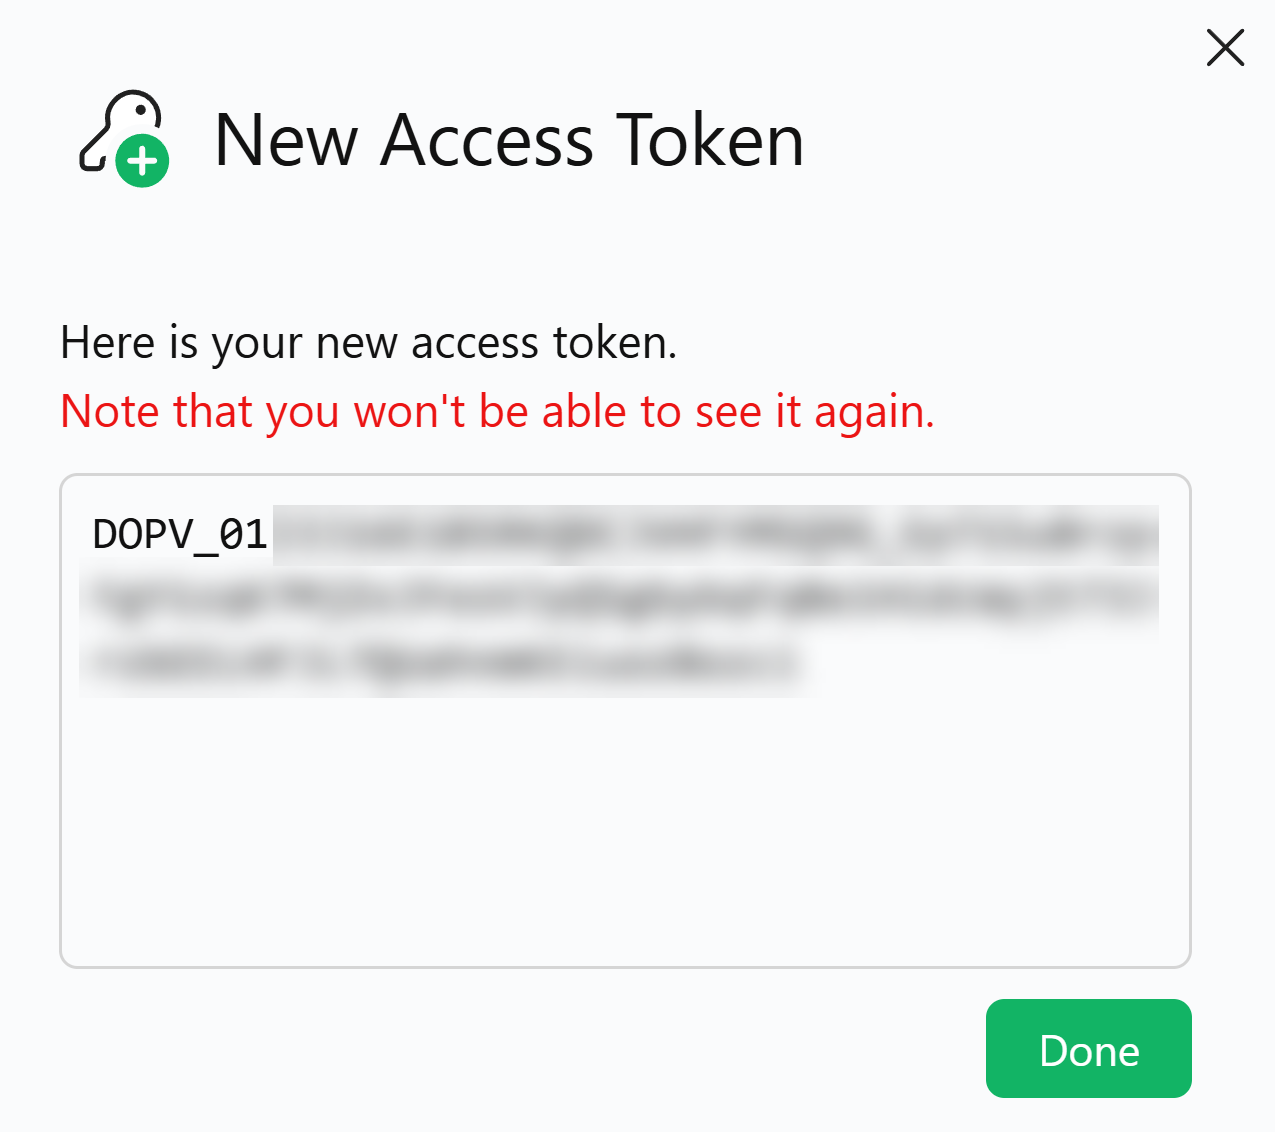
Make sure to copy the new access token now as you won’t be able to see it again.
NOTE: You can create a maximum of 5 access tokens with expiration dates ranging from 7 days to one year.
Step4: Install the DAX Optimizer CLI tool
Install the Dax.Optimizer.CLI tool by running the following command in your terminal:
dotnet tool install Dax.Optimizer.CLI --global
After installation, you can invoke the tool with daxoptimizer --help
Step5: Analyze the VPAX file
Here are the steps to follow to automatically generate the CLI command to run the analysis:
- Go to app.daxoptimizer.com.
- Switch to the group account that owns the target model you wish to automate the analysis for.
- Select
Command Linefrom the target model’s context menu. - Copy and configure the auto-generated CLI command by replacing the placeholders with the required information, such as VPAX path and personal access token.
Use the auto-generated CLI command to upload and analyze in Dax Optimizer service the previously extracted VPAX file.
NOTE: Use
daxoptimizer analyze --helpto learn more about the available arguments.
Here is an example of the auto-generated CLI command:
daxoptimizer analyze "<VPAX_PATH>" \
    --workspace-id "261683679063-aefa766b-9b3d-44b2-bb0b-6903495c8819" \
    --model-id "241683679036-97f18fb0-91f6-4b29-bdc5-c2b0c7023f1c" \
    --region "eastus" \
    --username "contoso-team" \
    --password "<PERSONAL_ACCESS_TOKEN>"
Sample: Azure DevOps YML pipeline
Here is an example of automation using an Azure DevOps YAML pipeline:
trigger: none

pool:
  vmImage: ubuntu-latest

variables:
  # Define a variable to store the path where the VPAX file will be extracted.
  # Using $(Build.BuildId) ensures a unique file name for each build.
  vpaxPath: '$(Build.StagingDirectory)/contoso-$(Build.BuildId).vpax'

steps:
  - script: dotnet tool install Dax.Vpax.CLI --global
    displayName: install vpax tool

  - script: dotnet tool install Dax.Optimizer.CLI --global
    displayName: install daxoptimizer tool

  - script: vpax export '$(vpaxPath)' "$TABULAR_CONNECTION_STRING"
    displayName: export vpax
    env:
      TABULAR_CONNECTION_STRING: $(ConnectionString)

  - script: daxoptimizer analyze '$(vpaxPath)' -w '$(WorkspaceId)' -m '$(ModelId)' -r '$(Region)' -u '$(Username)' -p "$DAXOPTIMIZER_TOKEN"
    displayName: analyze vpax
    env:
      DAXOPTIMIZER_TOKEN: $(PersonalAccessToken)
Overview video
See how to automate the analysis of a VPAX file using the CLI tools: