A group account allows licenses to be shared among multiple users within the same organization for collaborative purposes. This section provides guidance on creating and managing groups, including how to add users.
How to create a group
To create a group, click on the Groups tab in Settings. Then, click on Create Group.
A pop-up will describe what a group is.
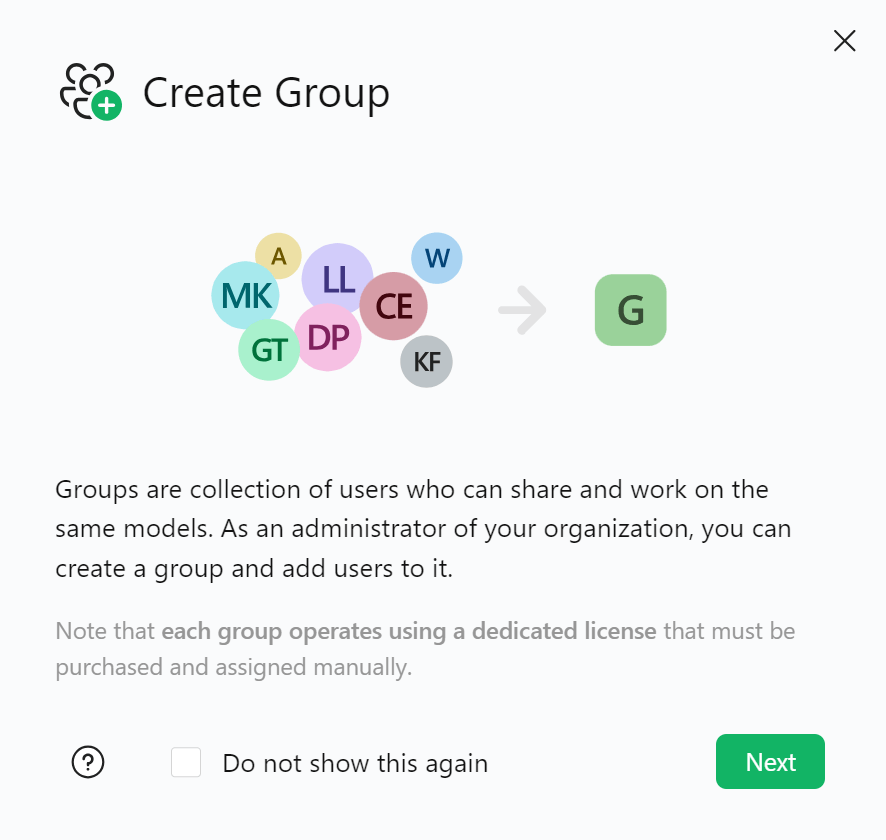
Click on Next and specify:
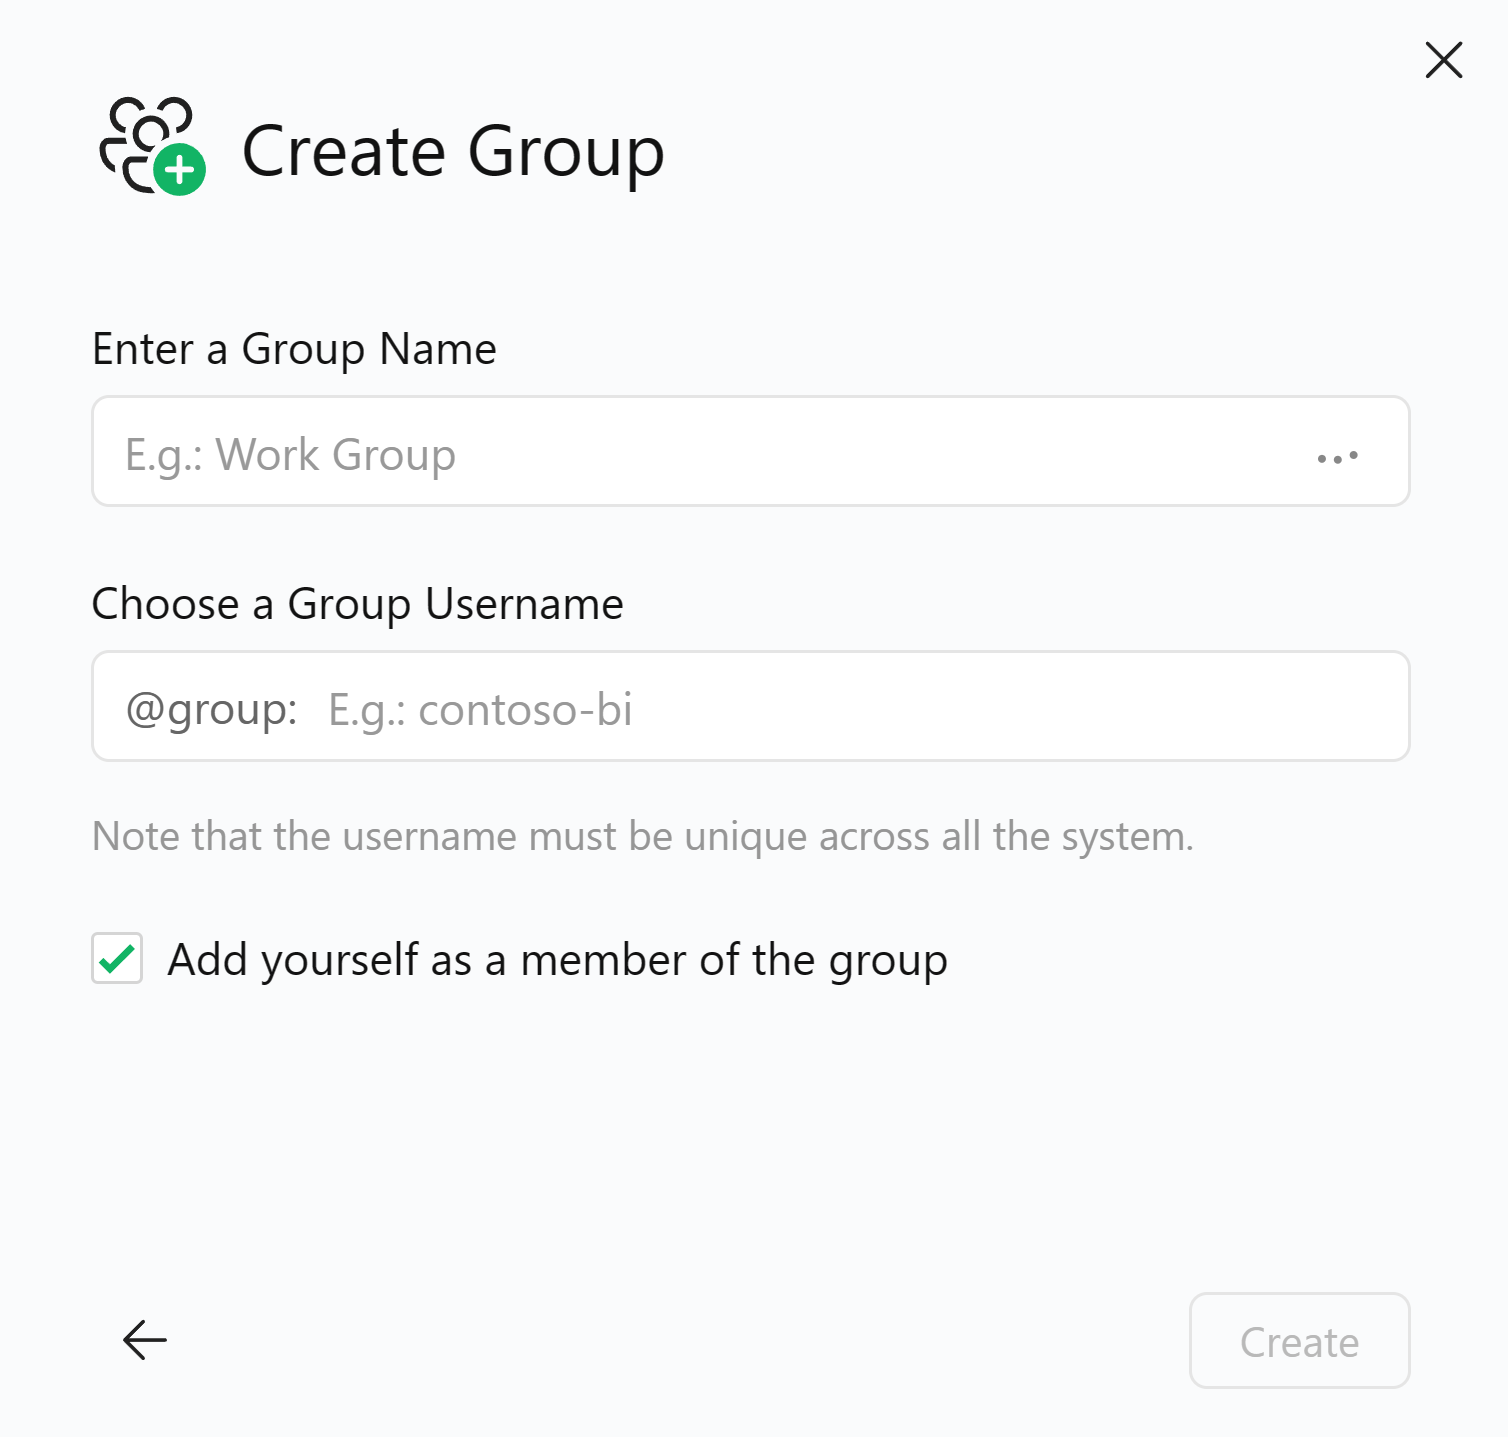
- The Group Name. This is the actual name of the group.
- The Username of the group. This is an identifier of the group that must be unique for our system.
- If you want to be added to the new group. In that case, check the corresponding box. Note that you can add your user to the group later.
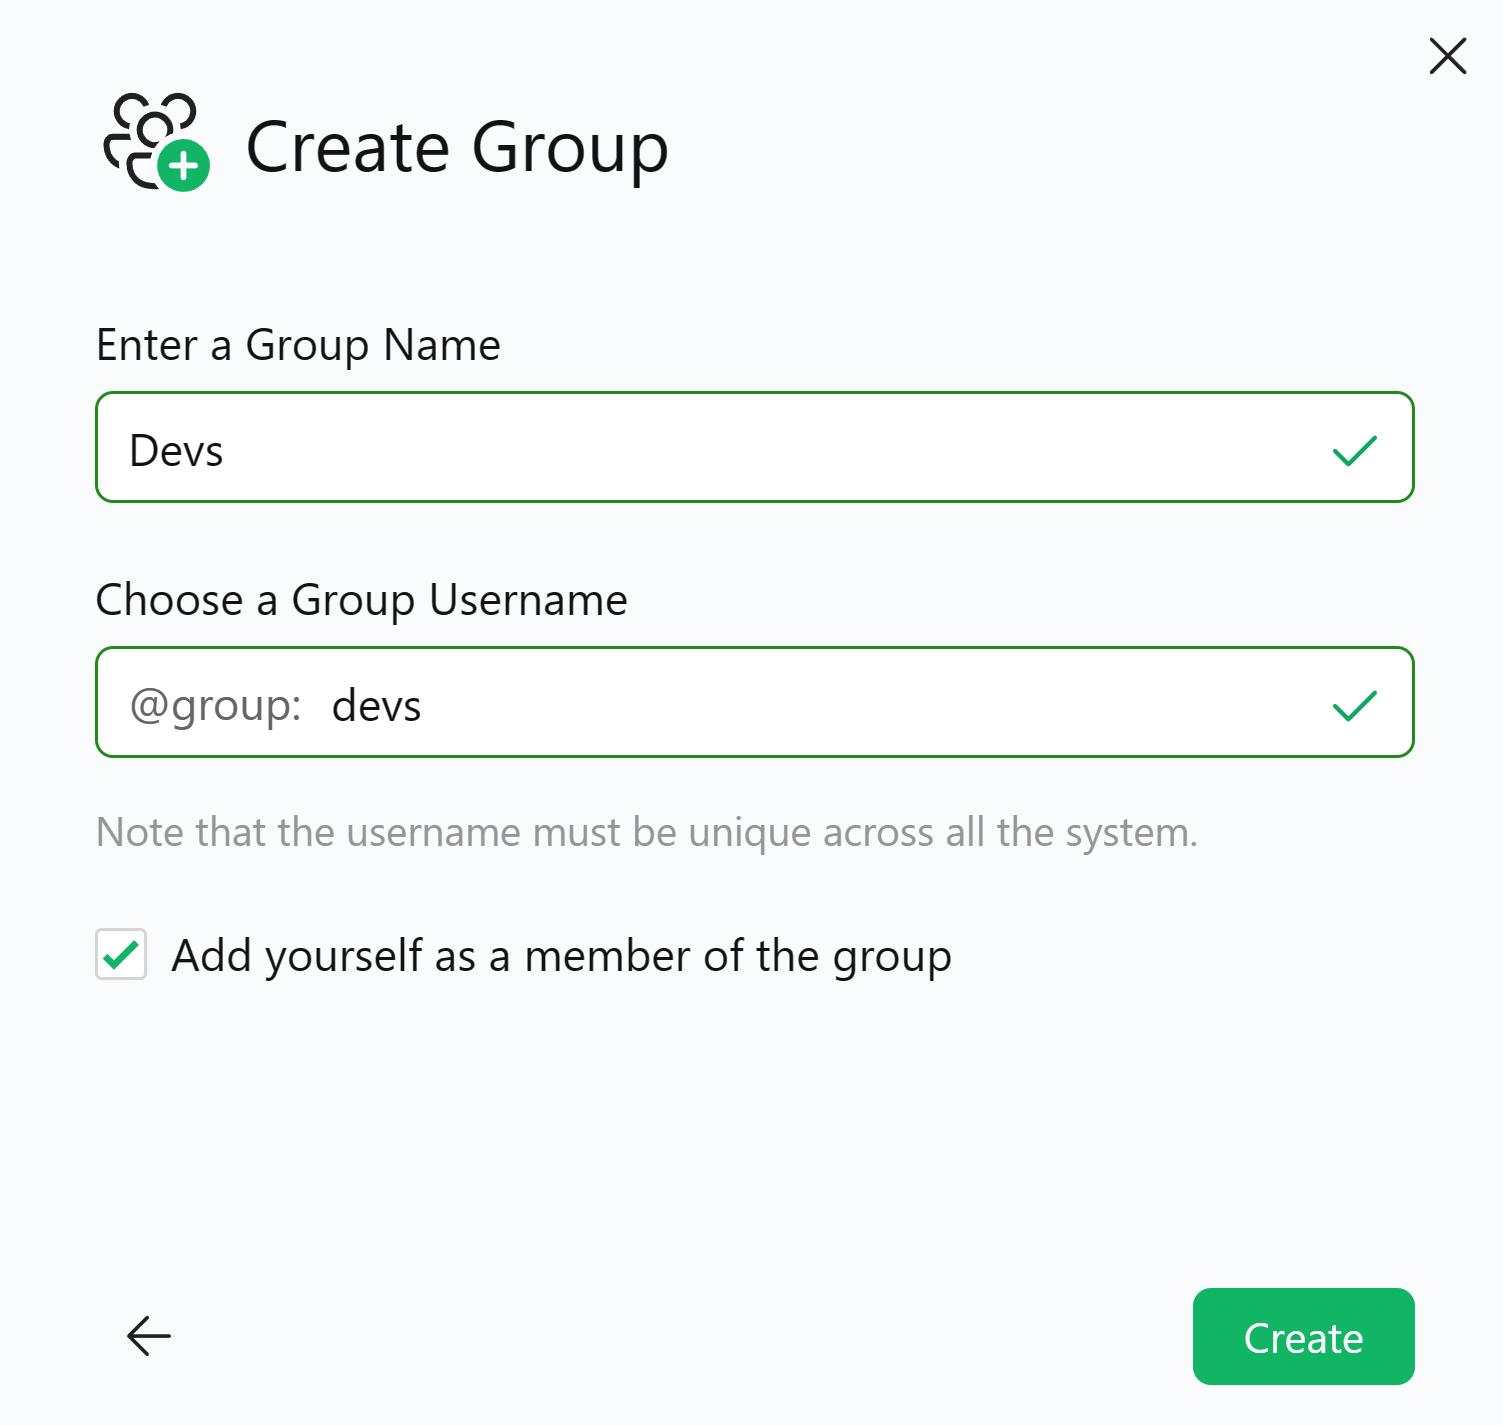
As an example, by creating a group called Devs, the Username is automatically set as devs. You can change the Username at your will, as long as it is unique for the system.
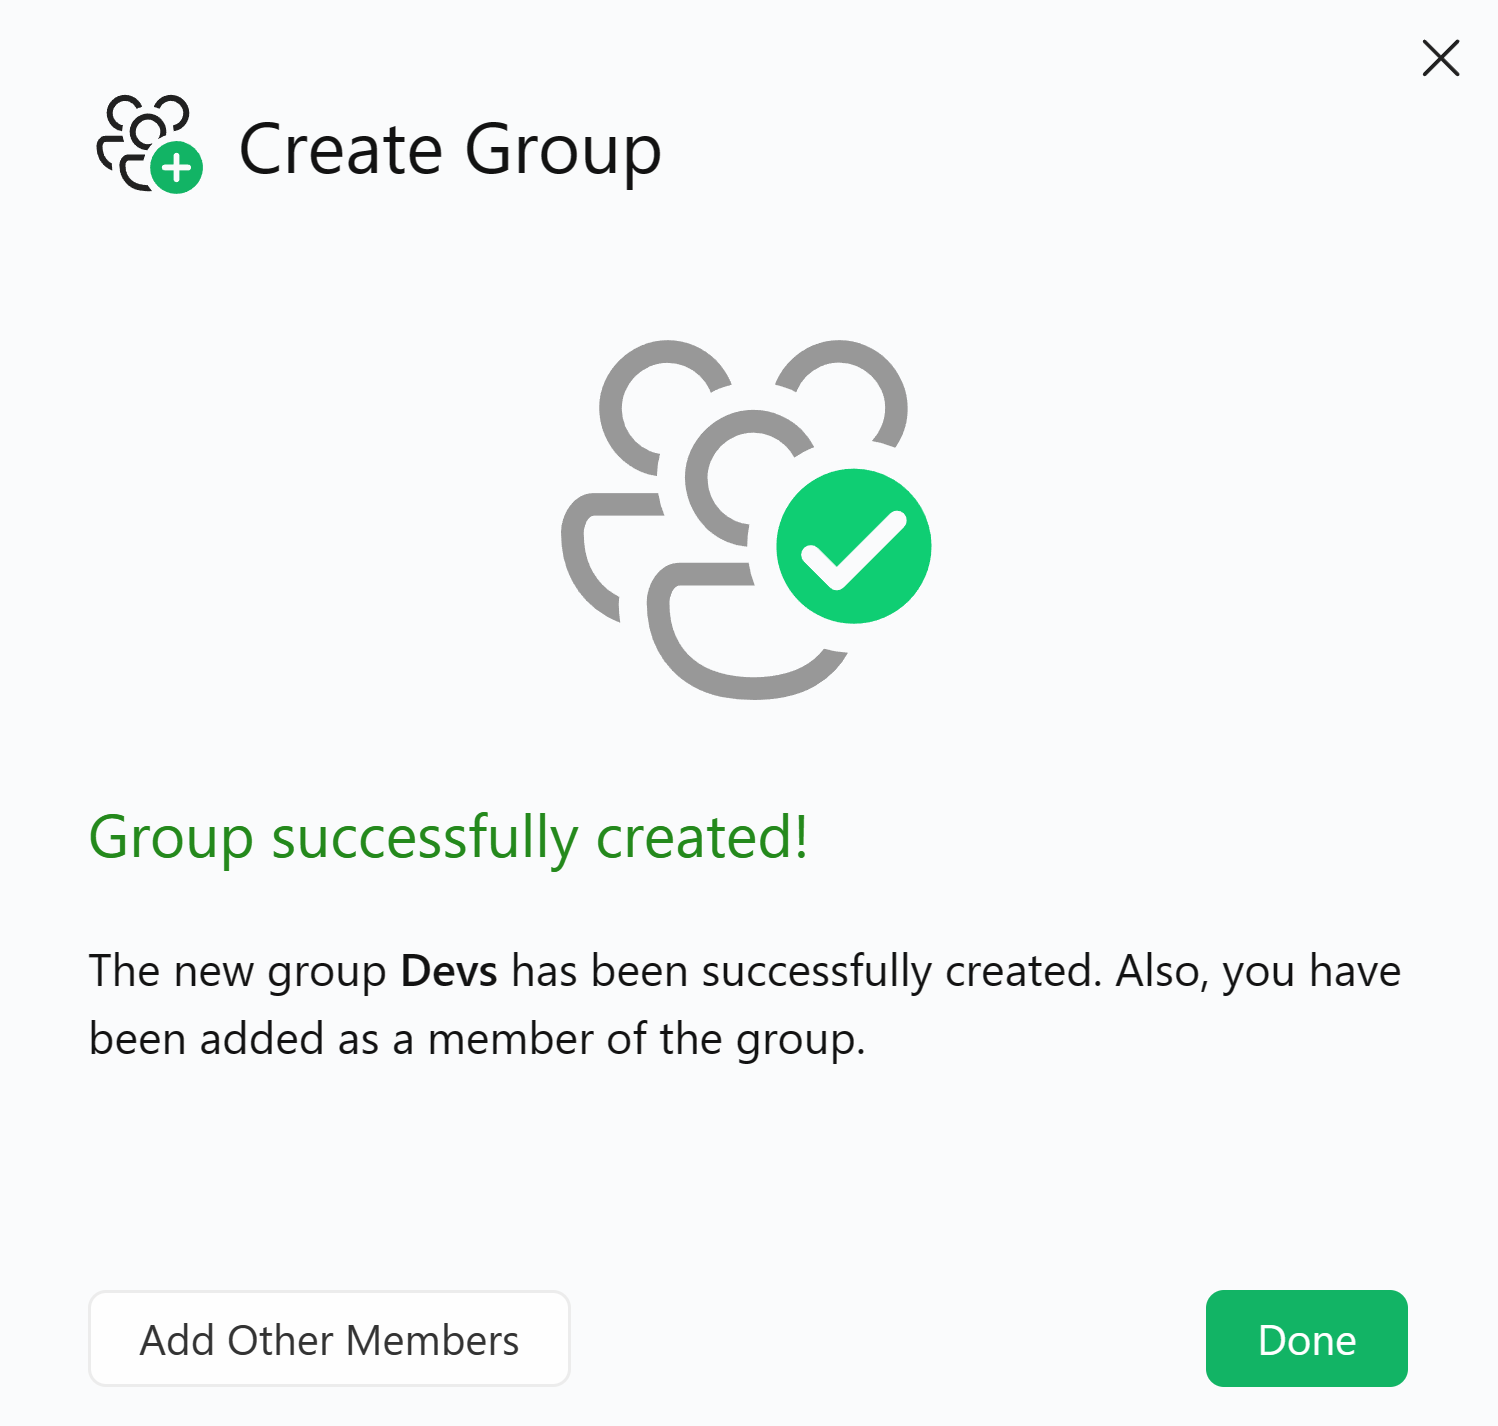
If the group creation is successful, you will see a success message.
Now you can:
- Add members to the group by clicking on Add Other members.
- Finish the creation process by clicking on Done.
Returning to the Groups page, you will now see the newly created group, listed among the others that eventually already exist.

To edit an existing group, click on the three dots.
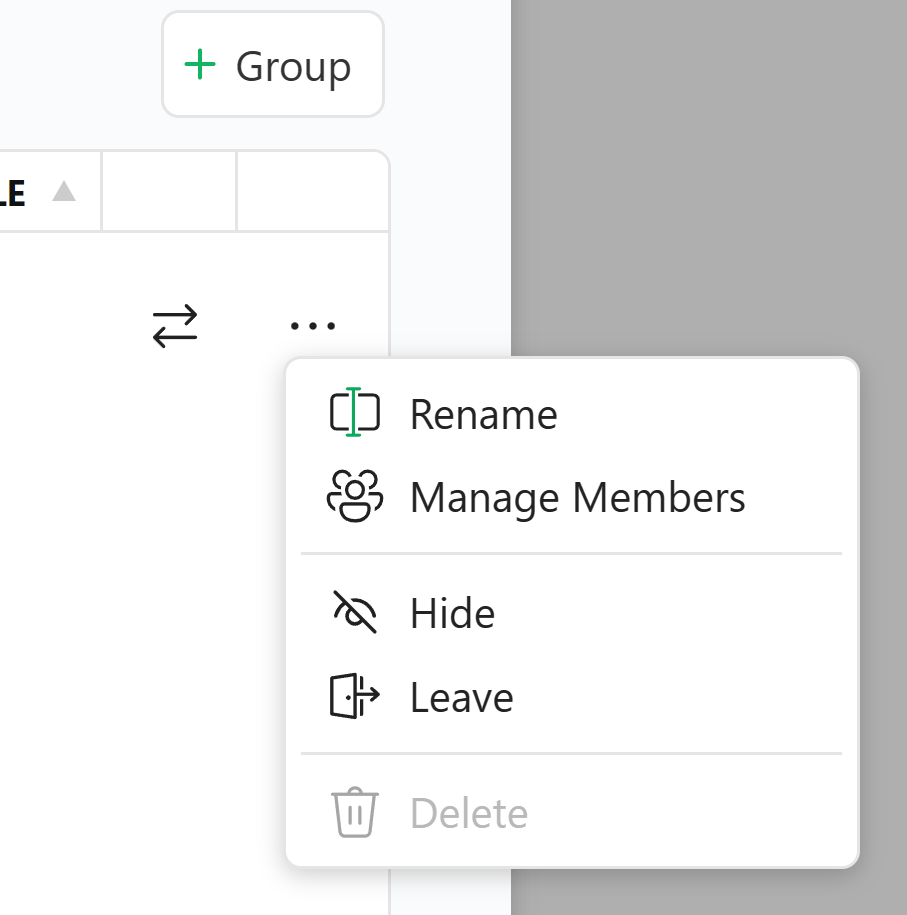
The options available are:
- Rename: change the name of the group.
- Manage Members: add or remove users from the group.
- Hide: hide the group from the list.
- Leave: leave the group (this option is available only for users who are part of the group).
- Delete: delete the group.
How to manage the members of a group
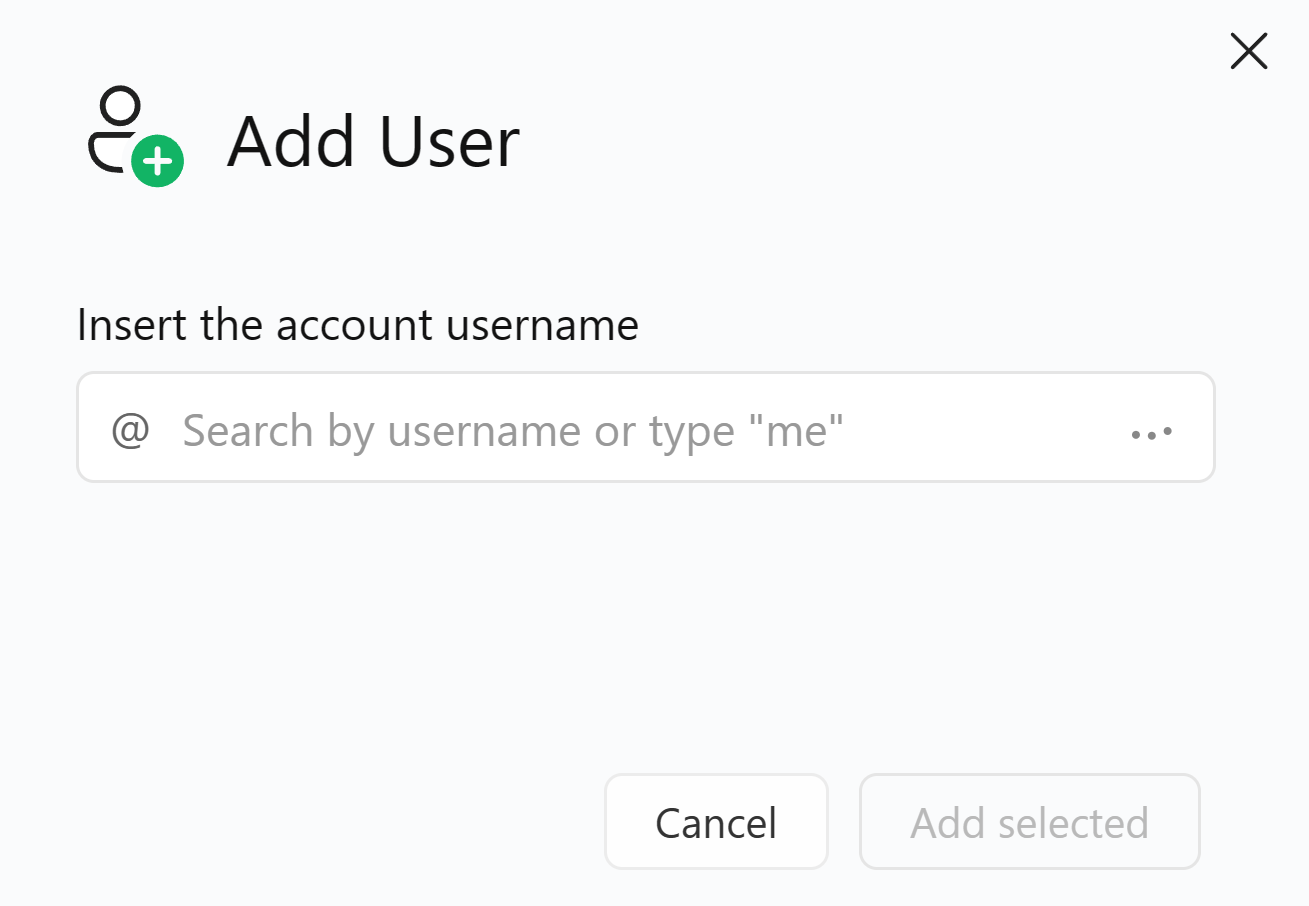
The Manage Members option allows you to add or remove members from a group.

Click on + User to add a new user to the group. Specify the username of the user to add to the group and click on Add selected.
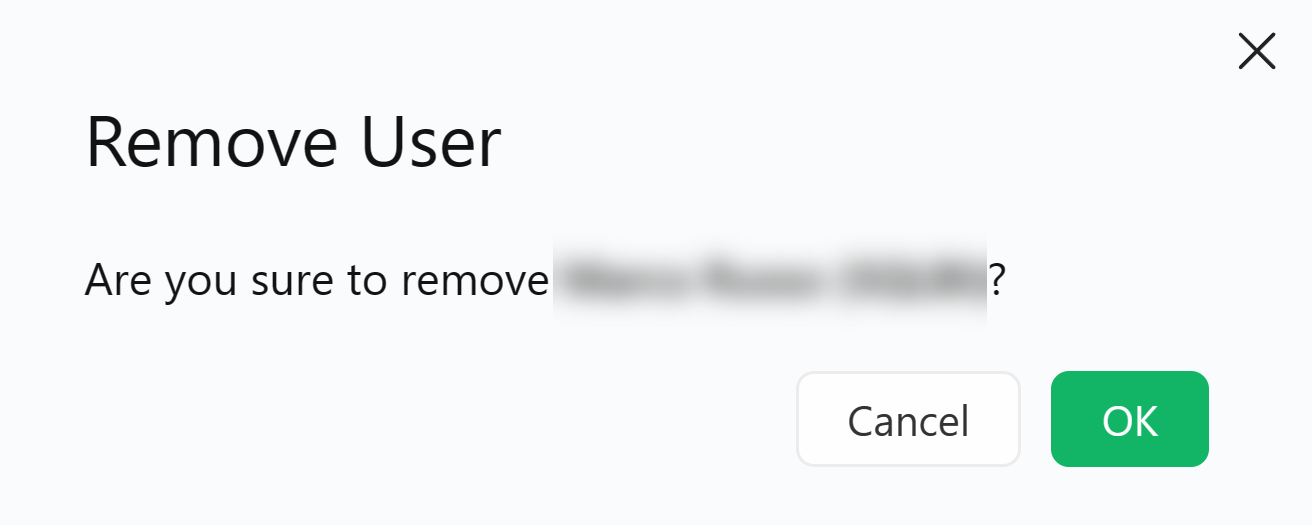
To remove a user from the group, select its name. Click on the three dots, then on Remove.
A confirmation screen will appear.
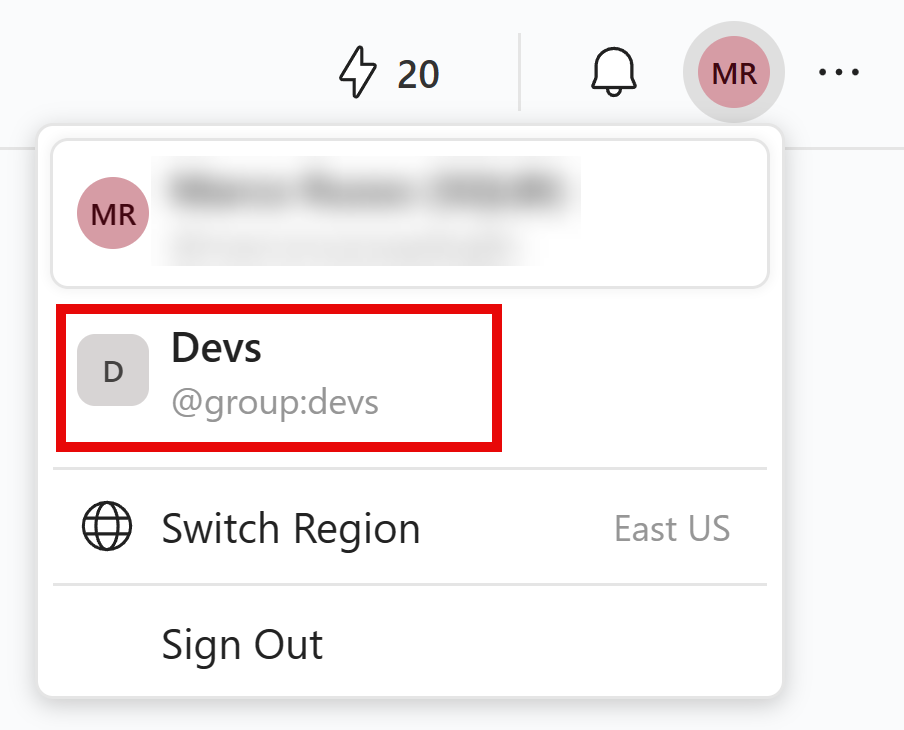
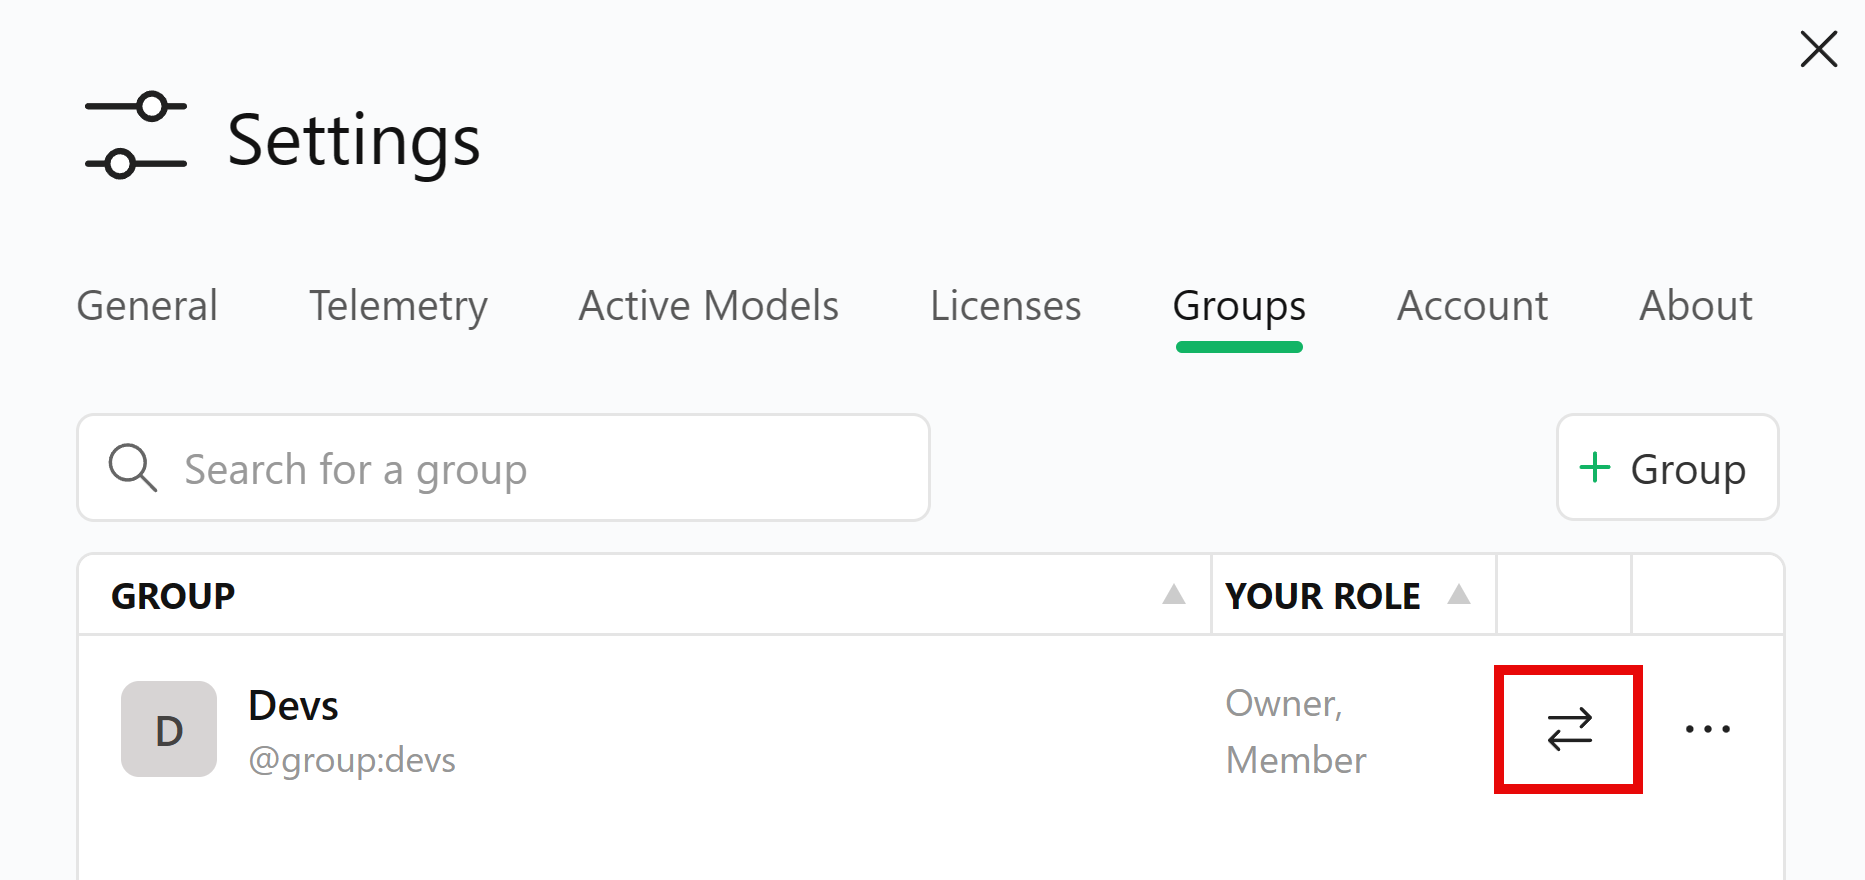
How to switch to a group
If your user account belongs to a group, you can switch to a group to view and manage the group’s data.
You can switch to a group by using:
-
The list of groups under your profile icon in the top right corner of the screen.
-
The Groups page in the Settings dialog box
The user can revert to the user account by using the same procedure.